
Activities in Visual Classrooms are made up of a series of what we call Prompts. Prompts are instructions to guide students through the activity.
There are three different kinds of prompts: Discussions, Multiple Choice, and Concept Maps.
Here’s how to add a new prompt to your activity.
- To add a new prompt to your activity, select the
![]() button.
button.![]()
- When doing so you will be asked to select the prompt type from three icons
![]()
- You can then assign your new prompt a title and body.
![]()
- Additionally, you can add customizing to your prompt’s format – for example you can customize the visibility of the prompt, add tags, and add a sketch background.
![]()
- To add your new prompt, select the
![]() button.
button.![]()
 button.
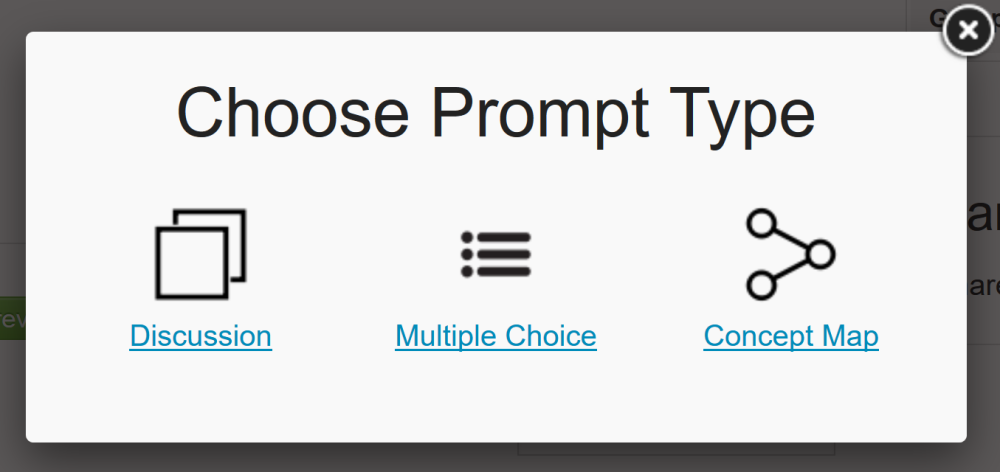
 button.
Prompt Visibility Settings
Unlike other collaboration tools, you can adjust when students see each others posts to prompts using the visibility settings.
There are four options:
![]() – All student posts are visible at all times
– All student posts are visible at all times![]()
![]() – Students answers are hidden until AFTER a user posts an idea. Once they post their idea, other responses become visible.
– Students answers are hidden until AFTER a user posts an idea. Once they post their idea, other responses become visible.![]()
![]() – Users will only see their response, not anyone else.
– Users will only see their response, not anyone else.![]()
![]() – After posting users will be able to view each other’s posts, but not each other’s names.
– After posting users will be able to view each other’s posts, but not each other’s names.
h3. Knowledge Tags
 – All student posts are visible at all times
 – Students answers are hidden until
  – Users will only see their response, not anyone else.
Knowledge Tags (or “tags”) are labels that enable students to categorize posts using simple keywords. Tags can be used in a variety of ways – conceptual knowledge tags describe procedures, lessons learned, underlying concepts and reflections that are related to the ideas being expressed. Tags can also be used to answer multiple choice questions, express levels of understanding of others ideas or reference others ideas, and they can be used to indicate agreement (“thumbs up”). Tags make it easier to find and track ideas. In Visual Classrooms, users can choose from a list of pre-determined tags set by the instructor or they can add their own. 

Here you will see how to create your own tags.
- Make sure you have enabled tagging by checking the Enable Tagging box.
![]()
- Select the
![]() button.
button.![]()
- Type in what you want to call your tag.
![]()
![]()
- Click the
![]() button to add your new tag.
button to add your new tag.![]()
- Repeat this process if you would like to add more tags.
![]()
![]()
 button.
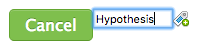
 button to add your new tag.
Adding a Sketch Background
Our Sketch Tool allows both instructors and students to add a background that students can draw on. For example, if you students to create a graph or free body diagram you can add graph paper or a free body diagram template as your sketch background.
Here’s the process of adding a background image to the sketch tool:

- First, select the
![]() button.
button.![]()
![]()
![]()
- You will then see a pop up window with folders on the left. If it is your first time, create a new folder just for you. You can do this by right clicking on a folder and selecting “New Subfolder”.
![]()
![]()
- To upload the image to our server, select the
![]() button. The ideal height/width is 500 (h) x 800 (w).
button. The ideal height/width is 500 (h) x 800 (w).![]()
- After the image has been upload, double click on the image. It will then be selected for the background of the sketch.
![]()
 button.
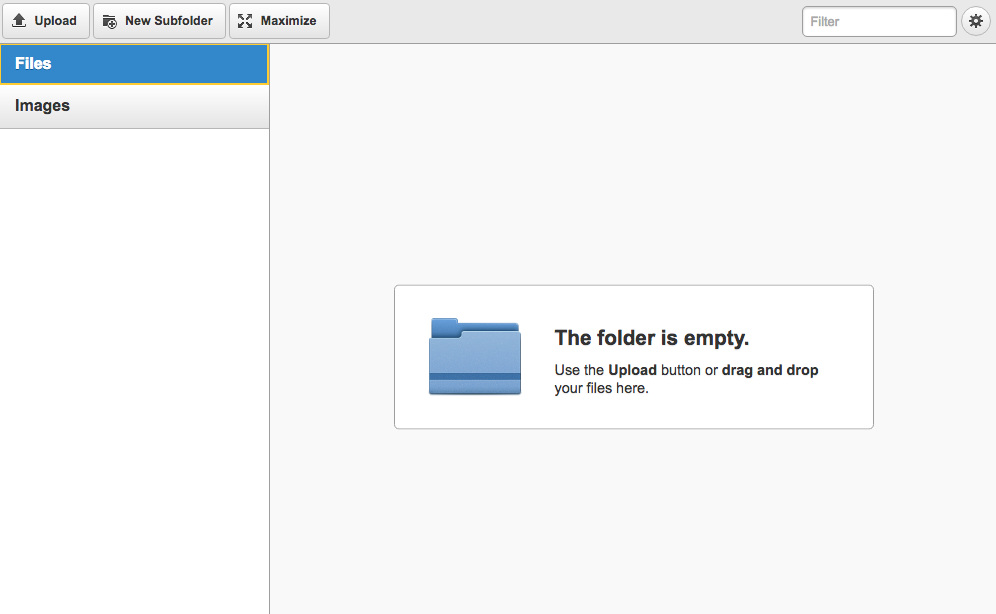
 button. The ideal height/width is 500 (h) x 800 (w).
You can preview the image by clicking on Preview in Sketch.
Post your comment on this topic.